

Are you looking to record your drums and get the clearest sound possible? Well, you’ve come to the right place as in this article we’ll show you how to record drums effectively and efficiently.
We’ll focus on recording acoustic drums, but we’ll also touch on world percussion and electronic kits later on, as well as how to tackle social media and streaming your drumming live.
In a hurry?
Here are the main steps to recording drums:
| Step | How and Why |
|---|---|
| Tune up your drums | First off, you need perfect tuning! Make sure to do this with great attention to detail, and double-check all your hardware, lugs, and hoops. |
| Mic up your kick drum | A large diaphragm microphone inside your kick drum will allow you to fine-tune the amount of punch, click, and depth you’re looking for. |
| Mic up your snare drum | Just one dynamic mic will work great here. Position it over the rim of your snare, making sure it’s close to the drum but out of reach of accidental stick strikes. |
| Set up overhead mics | Position two condenser mics in front of and pointing down at your kit to capture the full sound, including cymbals. |
| Mic up more individual drum | You may choose to mic up your tom and floor drums. However, this is not essential if you're on a budget. |
| Choose and install recording software | There are many types of software on the market that allow you to record and track your drums. Cubase and Pro Tools are amongst the best DAWs (Digital Audio Workstations) today. |
Our equipment recommendations
Equipment is three-quarters of the pie when it comes to recording. Here are our recommended products for getting the best drum recordings.
1. Universal Audio Studio Drum Mic Set with Hemisphere Modeling (7pcs)
The Universal Audio Studio Drum Mic Set boasts advanced Hemisphere Modelling technology, giving you access to a range of models that emulate some of the most iconic mics globally. This gives you extreme versatility and control over your recordings, ensuring you capture not just high-quality, crisp sound but also the exact tones you’re after.
This set includes seven microphones, each tailored to specific elements of the drum kit. The SP-1s are perfect for overhead micing, catching the shimmer of cymbals and the overall ambience of your drumming. For the snare, the robust SD-5 is a great choice, offering crisp, detailed capture, while the SD-7 brings out the depth and body of tom drums. Rounding out the set, the SD-3s work exceptionally well for snares and guitar cabinets thanks to their precise and focused sound.
Each microphone has high SPL handling capabilities, meaning it can handle the loudest of drums without distorting. Their cardioid pickup patterns isolate the sound of the instrument, minimising background noise and focusing solely on the performance. Whether in a bustling live environment or a controlled studio session, these mics ensure your recordings are consistently clear and detailed.
2. Yamaha EAD10 Electronic Acoustic Drum Module & Sensor
The Yamaha EAD10 Electronic Acoustic Drum Module & Sensor has the benefits of electronic and acoustic drums blended into one. The sensor contains two microphones to capture a stereo image of your drums; it can be placed discreetly on top of the kick drum to capture the sound of the whole drum kit.
The sensor also houses a trigger activated by the bass drum and can be used to enhance the kick drum’s sound through the module. You can then record directly to the handy Rec’N’Share app. With built-in samples and effects, the EAD10 has it all for hybrid drumming and is arguably one of the best pieces of equipment to record your drumming.
3. Behringer BC1200 7-Piece Drum Microphone Set
If you’re keen on capturing every nuance of your drum kit, the Behringer BC1200 7-Piece Drum Microphone Set might be just what you need. This set includes seven microphones, each designed to pick up the specific characteristics of different parts of your drum kit. You get a kick drum mic, four for snares and toms, and two cymbal mics, ensuring that every thump, attack, and crash is recorded with clarity.

4. Audix DP5A Percussion Microphone Pack, 5 Pieces
The Audix DP5A Percussion Microphone Pack is a stellar choice for drummers who want a versatile, comprehensive mic setup that works in both live and studio settings. This five-piece set includes microphones specifically designed for close mic’ing the kick drum, snare, and toms.
5. Zoom Q8n-4k Handy Video Recorder
Ideal for streaming and recording for social media, the Zoom Q8n-4k Handy Video Recorder has a high-quality sound pickup, and it looks great – ideal for on-camera streams. Plus, it’s easy to set up and use.
With its built-in X/Y microphone, you can record sound in stunning 96 kHz/24-bit resolution, capturing the nuances of your audio with precision. The addition of two XLR inputs allows you to connect additional microphones, particularly useful when you want to close mic the kick and snare drum to blend with the overall drum sound.
6. 7-Piece Drum Mic Complete Set Including Stands and Cables
Mic’ing up made easy. The 7-Piece Drum Mic Complete Set Including Stands and Cables has everything you need for the ultimate drum kit mic setup, from the mics themselves to clamps, cables, and stands.
Each mic is designed for a different drum; for example, you have a large diaphragm bass drum mic to capture the low frequencies while smaller condenser overhead mics capture the sound of the cymbals.

How to record drums
1. Set up and prepare
The first step to recording your acoustic drums is choosing the right space. You should assess how big your kit setup is and make sure there’s enough room for all the microphones too. It’s also worth considering acoustic foam or panels, which can be attached to the walls to eliminate unwanted reverberations and echoes. This will massively improve your recordings.
Once your kit is set up and the room is ready for recording, the next step is tuning your drums, paying extra attention to detail than you would in a normal practice session. Double-checking all your hardware, lugs, and hoops will also contribute to the perfect recording by eliminating any rattling or other unwanted noises.
To control annoying rings or overtones, consider using dampening techniques. This can involve anything from specially designed drum gel to homemade solutions like duct tape or felt strips. Dampening allows you to shape the sound of your drums and achieve the desired tone for your recording.
2. Mic placement
Probably one of the most important aspects of your drum setup, positioning your mics correctly will help you achieve crystal-clear recordings. The G4M Studio Mic Stand Pack for drums is great for this as it includes a whole host of robust stands that can support up to 2kg – all in one package.
Mic placement for a bass drum
Two distinctive sounds come from the bass drum: the attack of the beater striking the head and low-end resonance. To capture these sounds, you’ll need to position a microphone inside the drum, pointing towards where the beater strikes.
Cut a port hole in the front of your bass drum skin – you’ll then be able to adjust the position of the microphone easily by reaching inside the drum. As for recording the low-end thump of the bass drum, place a microphone just inside the porthole, or outside of the drum close to the resonant skin.
Either of these mic placements can be used on their own, but having both options simultaneously and blending the two in post-production gives you the best of both sounds!

Mic’ing the snare drum
For the snare, clamp a dynamic microphone to the rim and aim it at the centre of the drum. This will capture the crack and attack. Alternatively, you can point the microphone towards the edge of the rim for more ‘ring’ and overtone of the shell. Make sure the mic is positioned out of the firing range of your drumsticks.
Mic’ing the tom drums
Depending on your budget, mic’ing your tom drums is not essential – but is extremely effective when it comes to getting the clearest drum recording possible. It also allows for more mixing control in post-production. Position these dynamic mics in a similar way to your snare drum mics, directing them towards the centre of the drum to capture its depth and nuances.
Overhead mics
Overhead mics capture the cymbals and the overall sound of the kit. Position these on boom arm mic stands pointing over the kit, ensuring they’re equidistant from the snare to maintain a balanced stereo image.
Hi-hat mic placement
Another non-essential but effective mic placement is a single dynamic or condenser mic placed close to the hi-hat, focused on the edge of the cymbals where they meet. This placement picks up the hi-hat’s crisp sonic texture without too much bleed from the rest of the kit. If you’re looking to record on a budget, the overhead mics will pick up the hi-hat, but not with the same clarity as its own mic will.

Stands, clamps, and cables
It goes without saying, but you should ensure you have sturdy stands and clamps to keep your mics firmly in place throughout your recording session. Use quality cables for all your mics and consider labelling them based on their length. Pro tip: you may want to opt for longer cables for your overhead mics to allow plenty of positioning room.
3. Hardware
 Hardware can be the be-all and end-all when it comes to recording your drums – the right audio interface and preamp will make all the difference in clarity and consistency within your recordings.
Starting with audio interfaces, look for units that offer multiple inputs. Drums require several mics for different components, so an interface with at least eight inputs is a good baseline.
High-quality preamps are equally crucial. They amplify the mic signals without adding unwanted noise or colouration, preserving the drum’s natural tones. Opt for preamps known for their clarity and headroom, ensuring they can handle the dynamic range of drums without distortion.
It’s also beneficial to choose hardware that includes built-in AD/DA converters. These convert the analogue signals from your mics into digital form for your computer and back to analogue to hear through your speakers. Superior converters will capture the nuances of your drum performance more accurately.
Consider the connectivity options too. Ensure the interface connects seamlessly with your computer system, whether through USB, Thunderbolt, or whatever else. This reduces latency, which is vital when recording a performance as you’ll want to monitor yourself as accurately as possible.
Lastly, don’t overlook the software compatibility. Ensure your audio interface works well with your chosen DAW (Digital Audio Workstation). This integration is vital.
4. Software
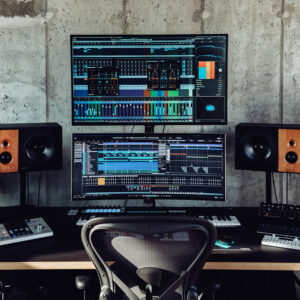 DAWs are where you bring your drum recordings to life. If you want one that’s easy to get to grips with and offers you plenty of features to get creative with your mix, our top picks are Cubase and Pro Tools.
Cubase is renowned for its robust editing tools, particularly slip editing. This feature allows you to adjust the timing of your drum hits with precision in post-editing, ensuring tight alignment with your other tracks.
Such granular editing capabilities, amongst many others, make Cubase a top choice for drummers aiming for a polished sound.
On the other hand, Pro Tools offers a huge range of mixing capabilities. Its comprehensive suite of built-in mixing tools is unmatched, providing a vast array of options for refining your drum sounds.
From blending multiple drum mics to applying subtle EQ adjustments, Pro Tools offers an intuitive and powerful platform for crafting your drum mix.
Both DAWs excel in their respective areas, so your choice might depend on which aspect of drum recording you prioritise. Check out our in-depth guide to software to learn more about these two DAWs as well as our other favourites.
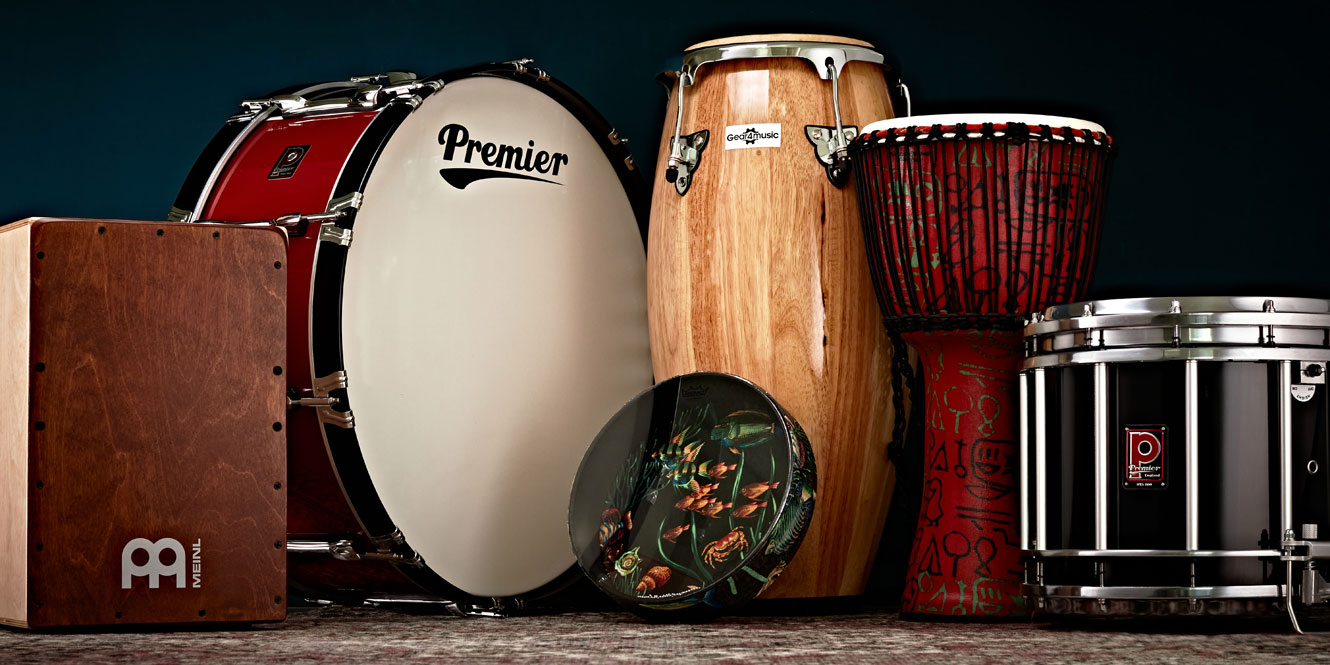
Recording percussion drums
If you’re looking to record bongos, djembes, darbukas, or any other type of percussion, you’ll need to take a bit more of a nuanced approach.
For bongos, place a small diaphragm condenser mic a few inches above the heads, directed between the two drums. This will capture the bright slap of the smaller drum and the deeper tone of the larger drum, balancing the sound.
When recording a djembe, use a dynamic mic positioned near the rim to capture the sharp attacks. You should then use a condenser mic a few feet above to grab the resonant bass tones. This dual-mic setup ensures a full, rich sound on your recordings.
For a darbuka, a single mic placed above the drum can effectively capture its wide range of tones. Position the mic closer to the edge for higher-pitched sounds or towards the centre for deeper tones.
If you’re recording tablas, use a pair of small diaphragm condenser mics: one near the Dayan (treble drum) and the other by the Bayan (bass drum).
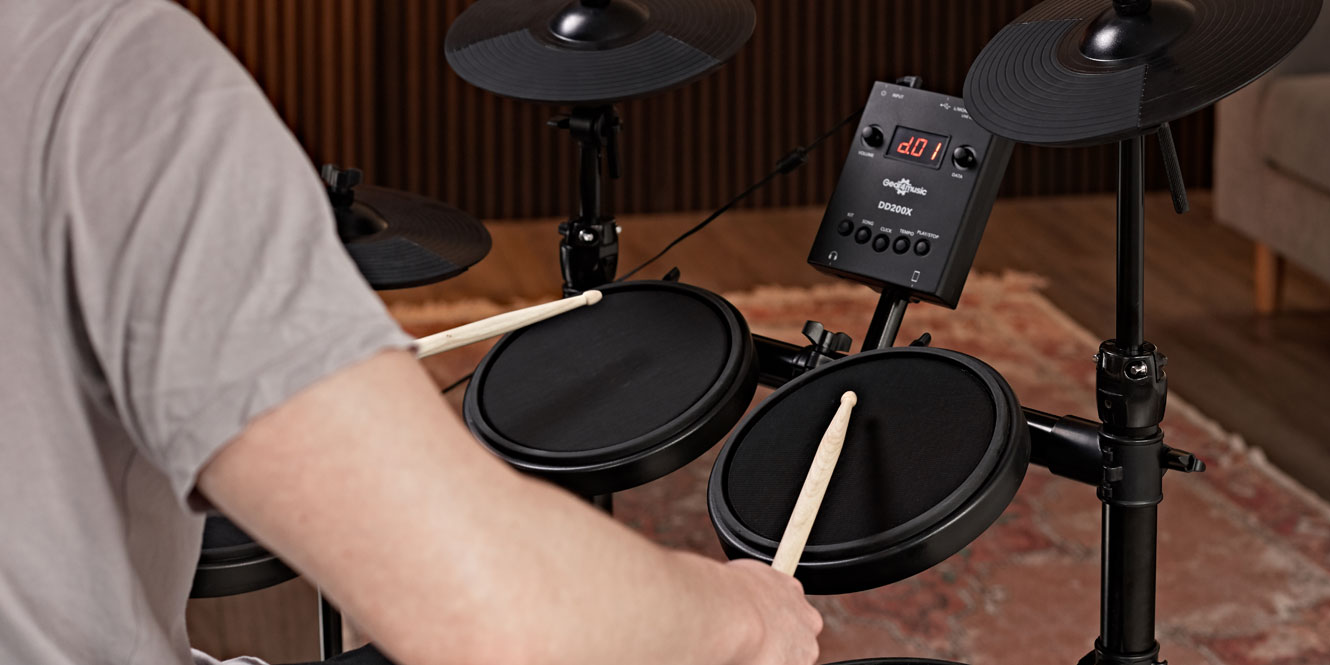
What about electronic drums?
With the right equipment, recording electronic drums can be a breeze and is sometimes favoured by professional acoustic kit players for this.
Firstly, take note of the number of individual outputs from your electronic drum kit. More outputs mean you can record each element of the kit separately, giving you greater control during mixing. Aim for a kit with at least four to eight outputs if you want to track the snare, kick, toms, and cymbals independently.
Utilising the stereo mix out is a quicker, simpler method. Ensure the internal mix of your drum module is well-balanced before recording. This means adjusting the levels, panning, and effects within the module to create a cohesive stereo image. While this method is less flexible than multi-output recording, it’s efficient and you can achieve good results with careful tweaking.
Next, mix your drums. Mixing within the module is an art in itself and this can be done with most high-end electronic kits. Take advantage of built-in EQ, compression, and effects to shape your drum sounds before they even reach the DAW. This step can significantly enhance the final output, as well as save time in the later stages of production.
When mixing in a DAW, you have more detailed control. If you’ve recorded each drum part separately, you can adjust the levels, panning, and effects for each channel, refining the drum sound to fit perfectly within your mix.
Lastly, if the sounds from your drum module aren’t cutting it, consider using MIDI to trigger virtual instruments in your DAW. Record the MIDI information as you play, then use it to trigger high-quality drum samples. This technique combines the feel of playing a real kit with the sound quality of studio drum samples, offering the best of both worlds.
Recording and streaming drums on social media
If you want to show off your skills on social media, you need a crisp sound that will engage audiences immediately.
Luckily, this is made easy with some purpose-built recording tools.
The Yamaha EAD10 is a powerful tool for drummers looking to amplify their acoustic kit’s sound with digital effects and triggers. For social media, where engagement is key, this module helps to create a dynamic and textured sound. It’s particularly effective in capturing the details of your drumming, providing a studio-quality sound.
Additionally, the Zoom Q8n-4k is an excellent companion, offering high-quality video and additional audio recording options – just what you need for streaming. Utilising its condenser mics to capture the ambient room sound adds authenticity to your recording, making your videos more immersive. The two additional mic inputs can be strategically used for the kick and snare to give the recording a direct focus on the kit.
For successful drum streaming:
- Ensure the room is well-lit and visually engaging
- Position the camera(s) to capture both your drumming and your interaction with the audience
- Sound check before going live to balance the audio levels, making sure every drum and cymbal can be heard clearly
- Engage with your audience through the chat feature to create a more interactive experience

Our top tips
Here are five tips to enhance your drum recording sessions:
1. Pay close attention to your mic placement
For acoustic drums, mic placement is crucial. Place mics at an equal distance from each drum to capture a balanced sound. Overhead mics should be positioned symmetrically to pick up the cymbals and the entire kit evenly. For electronic drums, focus on the output levels from the module to ensure they’re well-balanced before hitting the recording device.
2. Avoid noise interference
Record in a space that’s free from ambient noise. Machinery like fridges or air conditioning units can introduce unwanted background noise. You could also use acoustic treatment to minimise noise interference and enhance the quality of your drum sounds.
3. Tune your drums precisely
Before recording, make sure your drums are well-tuned. The tonal quality of each drum should be clear and able to resonate well within the context of your genre/playing style. For electronic drums, select and tweak your sounds to fit the context of the music you’re recording.
4. Check phase alignment
When using multiple microphones, especially on an acoustic kit, ensure they’re phase-aligned. Incorrect phase alignment can cause certain frequencies to cancel out, resulting in a thin or hollow sound.
5. Choose the right DAW
Selecting the appropriate digital audio workstation is crucial for recording drums. For instance, some may excel in MIDI editing, which is ideal for electronic drums, while others might give you a wider array of audio editing tools, perfect for fine-tuning acoustic drum recordings.
FAQs
How do you record drums properly?
To record drums properly, you need a strategic microphone setup and a well-treated room. Use a combination of dynamic and condenser microphones, and position them correctly around the drum kit using our guide above; this will help you capture the distinctive sounds of each drum and cymbal.
What equipment is needed to record drums?
The essential equipment to record drums includes a set of dynamic microphones, microphone stands, an audio interface with multiple inputs, and a digital audio workstation. You may also need cables, headphones, and potentially drum triggers or additional room mics for more depth and clarity in the recording.
Is it hard to record drums?
Recording drums can be challenging due to their dynamic range and the need for multiple microphones. Proper microphone placement is crucial and you should also understand your room acoustics and how to manage phase cancellation. However, with some practice, you’ll soon find it quite easy!
Final thoughts
Recording drums, be it acoustic, percussion, or electronic, is a craft in itself – and that’s before you’ve even started playing! Knowing how to record drums is crucial to capturing crisp, good-quality audio – and we hope our guide has given you some insights into different techniques to use.
Experiment with mic placements, kit placements, and DAW settings to not only capture a great recording but also to record your own unique sound. And let us know in the comments what tips and tricks you’ve found when recording drums!


0 Comments